Home Arcade Games Repair Station Links Contact
Showing posts with label Second Arcade Room. Show all posts

Monday, June 8, 2009

Wall Art Going Up!

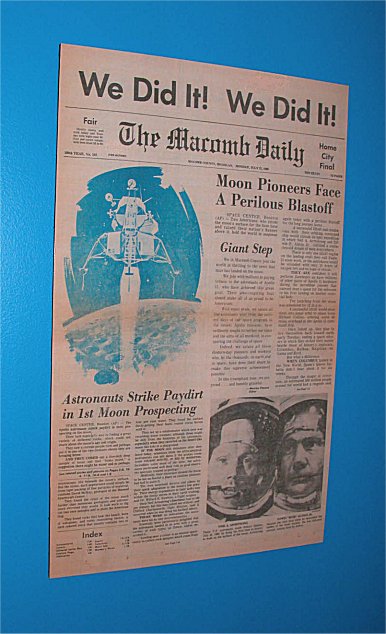
I have an extensive collection of hard to find items from the original 1969 Apollo 11 moon landing. What would be a better place to show them off than Tranquility Base Arcade? The moon landing was front page news on all the newspapers around the world however; one rarely seen newspaper documenting the event is my local county newspaper The Macomb Daily. I scanned the original paper and then printed it out full size. I had the image laminated in 3 mil gloss and mounted it to black foam core board with spray adhesive. The result is a unique piece of local history for the Tranquility Base Arcade!


Tuesday, April 28, 2009

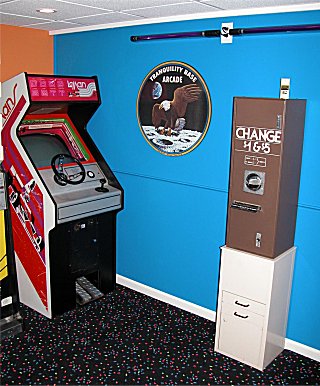
Official Tranquility Base Arcade Logo

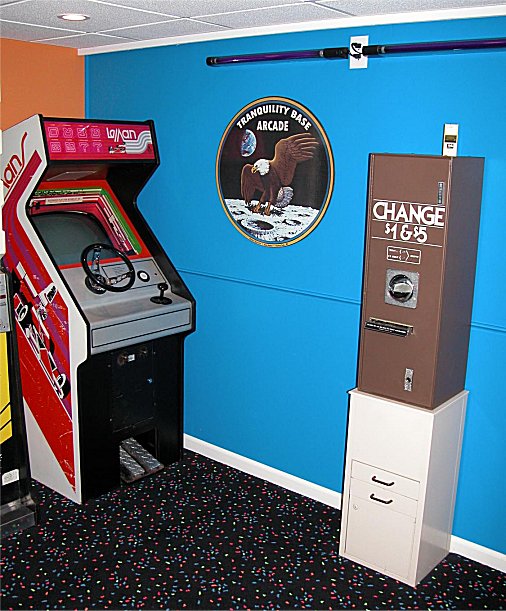
I could think of no better way to represent the Tranquility Base Arcade than to create a logo based on the Apollo 11 emblem. First, Photoshop was used to enlarge and modify a copy of the original emblem. I then removed all the blemishes, flaws and other imperfections from the artwork. This was a painstaking and lengthy process but necessary in order for the logo to look clean and presentable when printed in a large format. Once the artwork was complete I used a Hewlett Packard Designjet 4500 printer to print the image on plain white paper. A commercial laminator was used to seal the artwork with 3 mil gloss laminate. Next, I carefully cut out the artwork and traced it on a piece of black foam core board. I then cut the foam core board freehand with a sharp Exacto knife. Finally, a spray adhesive was used to mount the artwork to the foam core board. The logo was hung on the wall with Velcro strips around the perimeter. I specifically made the logo with white letters so that when the black lights were on, it would still be visible. “Houston…Tranquility Base Here…The Eagle Has Landed!”

Sunday, November 30, 2008

Let There Be Black Light!

The black lights have been installed. I put four fixtures in the new room and the effect is outstanding!


Saturday, November 29, 2008

Change?

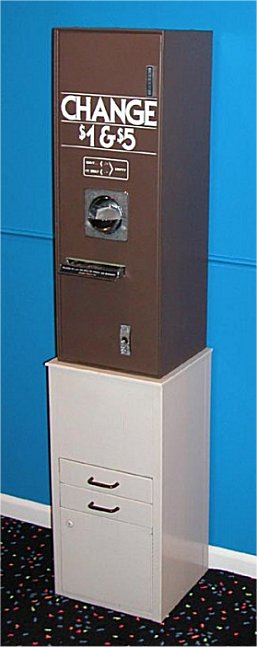
You can't have an arcade without quarters so the first thing I installed was this vintage Ardac change machine. The machine works perfectly and accepts one or five dollar bills. The unit is mounted on a small file cabinet which I use to store the keys to the games, manuals and other arcade related paperwork. If you wish to learn more about the change machine as well as see a short video of it in action, please click here.

Carpet

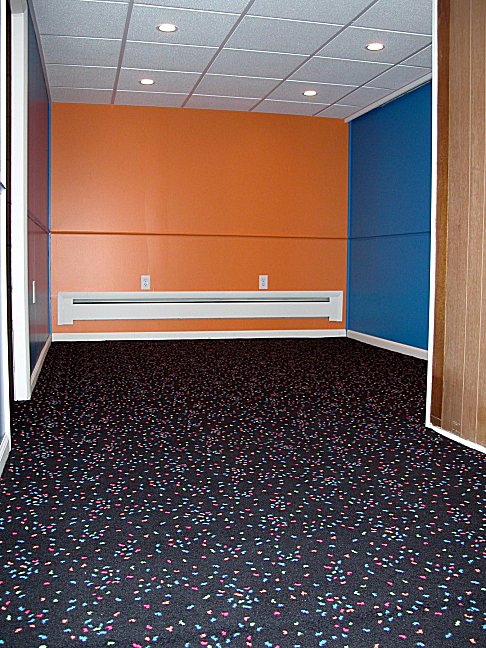
Carpet installation is complete! Room transformation is almost complete as well. Over the next few weeks I will begin to move some of the games in...can't wait!


Friday, November 28, 2008

Ceiling

The final step before having the carpet installed is done! The ceiling took approximately 3.5 hours to complete. I remembered all the time savers from the earlier ceiling install and they proved to be a big help. Finally, a nice and clean looking room! The carpet guys will be coming early tomorrow morning. The games currently in "winter storage" are looking forward to their new and much warmer environment!

Wednesday, November 26, 2008

Trim

Unexpectedly, the carpet installers informed me that they are coming this Saturday so the pressure is on! I have completed the baseboard and chair rail molding as well as the doorway and radiator trim. All nails have been patched and painted over. I have one day, Friday, to complete the entire ceiling! Wish me luck!

Sunday, November 23, 2008

Look Up!

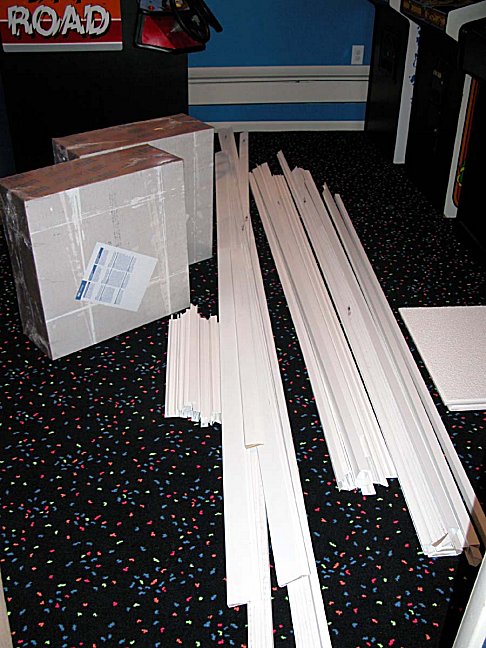
Well...maybe look down for now. I measured the ceiling and figured out the amount of material required. The pile represents all the trim needed for the room as well as the material for the ceiling. I went with the direct mount 'CeilingMAX' system because my basement has a very low ceiling.

Saturday, November 22, 2008

Blue And Orange Too!

Two coats of paint have been applied and the room is starting to take shape. Black light carpet has been ordered and should arrive in about two weeks. The addition of chair rail molding along with trim work around the doorways and radiator is next.

Thursday, November 20, 2008

Primer

Three coats of mud have been completed. The walls were sanded to make everything smooth and now a coat of primer has been applied. The next step is to mix up some color and get rid of the hospital appearance. The midnight oil is burning....

Saturday, November 15, 2008

Bonus Area!

I decided to expand the second arcade room into a small area located next to the stairway. By measuring, it appears that I can fit an additional three or four games in this space!

Mud and Tape

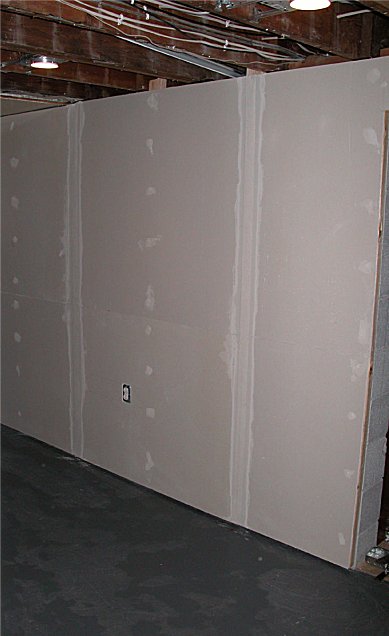
The first coat of mud and tape is complete. I plan on doing two additional coats. I also sanded the radiatior and put on a quick coat of primer. Nothing beats watching mud dry...except for paint!

Tuesday, November 11, 2008

Taking Shape!

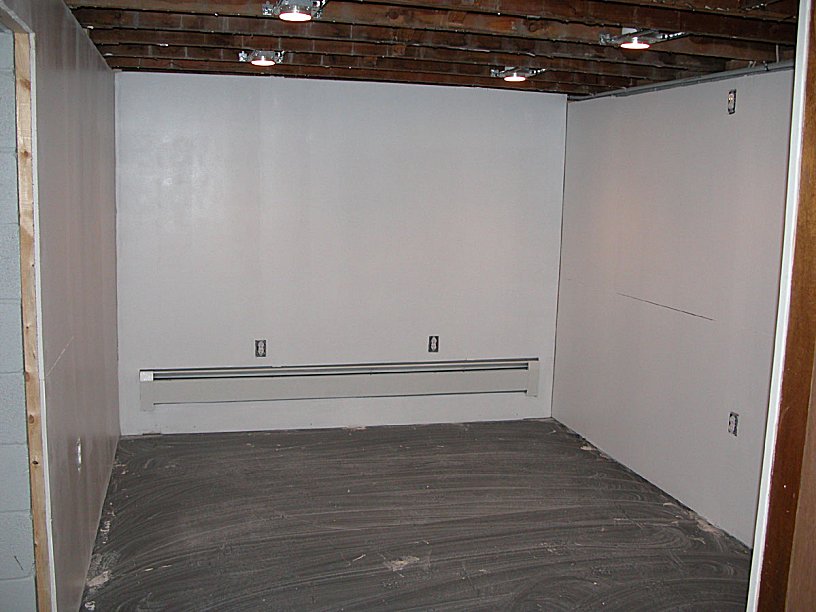
I started hanging the drywall. I am doing 1/2 sheets due to the difficulty of carrying a full sheet down my tight stairway. I'll cover the seam with chair rail molding just like in the other room.

Sunday, November 9, 2008

Drywall

I picked up the drywall for the arcade today. The composition of drywall must be changing as I get older as I believe the sheets are now made out of lead! Carrying two sheets around at a time is but a distant memory for me.

Tuesday, November 4, 2008

Black Lights

The black lights have arrived! The fixtures are wall mountable, 28" long and come complete with the bulb. These are the exact same fixtures I used in my original arcade room.

Monday, October 27, 2008

Let There Be Light!

Recessed lighting has been installed as well as four new electrical circuits. Dedicated 15 amp circuits will have no more than three games per circuit. Outlets were added near the ceiling for the black lights and I added another outlet in the original arcade room for more black light!

Saturday, October 11, 2008

Starting Construction

The tear out is now complete. I feel like I removed over 1,000 finish nails from the ceiling! The 'outside wall' insulation is in place. I added a new electrical circuit with two outlets on that wall. Studs are going up as well. Progress is very slow and I do a little bit here and there when I have a free hour to spare.

Friday, October 3, 2008

Before

The plan for the second arcade room is finally beginning to take place. After a massive clean out effort I'm left with the following space. The plywood ceiling needs to go along with the dried out insulation above it. I also need to redo the electrical to allow for additional outlets as well as recessed lighting. The plan is to match the current arcade room with similar construction in this one.